AGI Partners


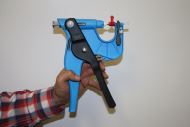
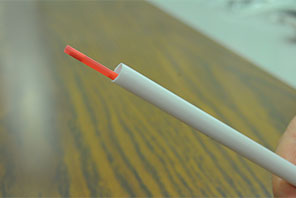
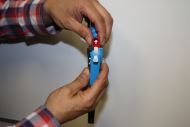
1.) Ensure the tissue applicator is loaded with an unused tissue punch (red plunger should be visible). Order Online.
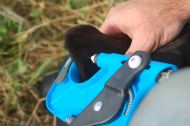
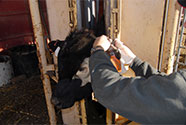
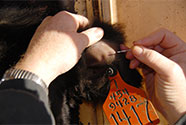
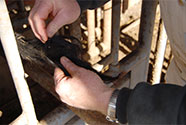
2.) Slide gun over the ear, and position the cutter approximately 1 inch from the edge of the ear, taking care to avoid any obvious veins and ridges.
3.) Squeeze handles together to take a sample and then release to free the ear. Try to do this in one swift, fluid, motion.
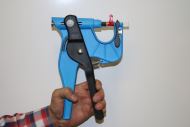
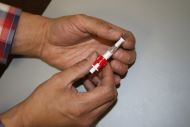
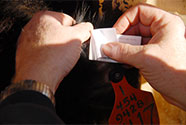
4.) Remove the punch from the device and check that sampling has been successful. If not, discard the sample and re-sample with a new punch.
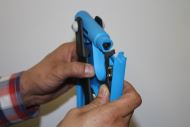
5.) Remove the used cutter from the applicator by pulling the handles apart. This will loosen the cutter. Discard safely as cutter is very sharp.
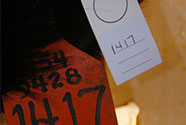
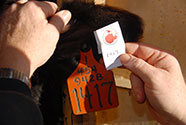
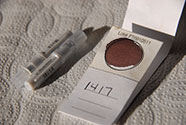
6.) Record animal id (tattoo, tag, etc.) and reference barcode.
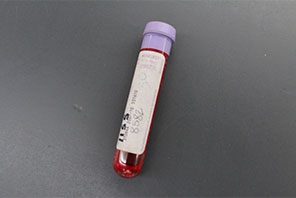
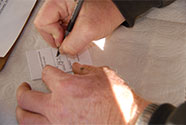
1.) Record animal ID # (tattoo and/or tag number) on a DNA card. Order Online.
2.) Wipe the ear clean using a clean paper towel or cloth.
3.) Prick the vein in the animal’s ear with a sterile needle.
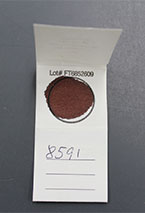
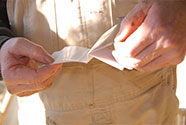
4.) Touch the circle on the DNA card to the blood site on the ear.
5.) Fill the circle with blood.
6.) Allow the card to dry away from direct sunlight for at least 24 hours prior to mailing. Do not mail the card in a sealed plastic bag.
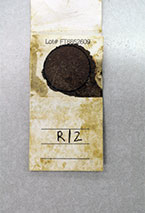
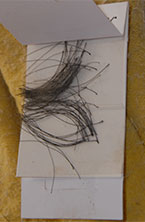
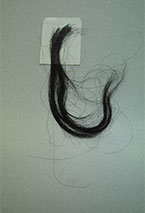
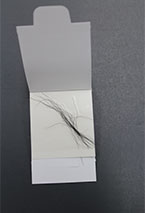
1.) Record animal ID #(tattoo and/or tag number) on the hair card.
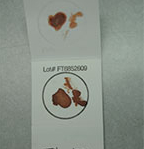
2.) Pull from the tail switch “up and away” (20 hairs with root bulbs).
3.) Place bulbs on the back flap. Peel off backing paper on sticky flap.
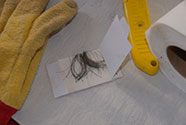
4.) Press sticky side on top of bulbs to seal sides. Hair bulbs must be present to perform tests.
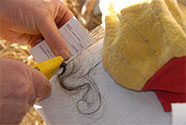
5.) Trim excess hair to the edges of the hair card.